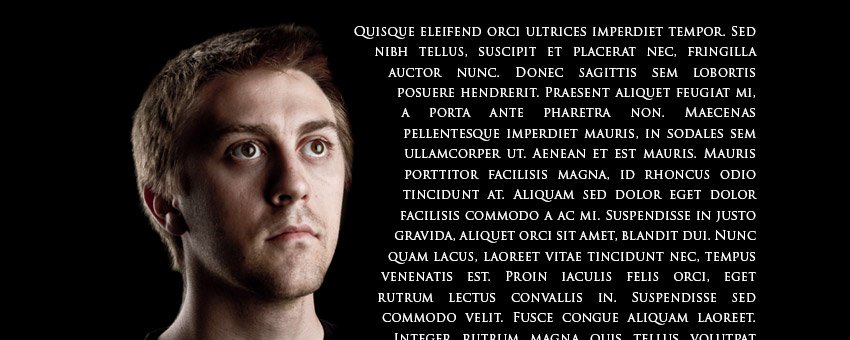
How to Create a Custom Text Box Shape in Photoshop

Watch Video Tutorial
Download full HD videos and tutorial project files with a PanoPass. You'll also get instant access to everything on the site, including products, and more.
The type tool in Photoshop is more flexible than you might think. You can create everything from a single line of text, to a fully custom text box shape.
This tutorial will teach you how to create a shape from scratch and insert text that conforms to the edges of that shape.
Step 1
Open your source photo and select the Pen tool. The mode can be set to either Shape or Path in the top toolbar, but it's better to choose Shape because it will create a new layer and will be easier to see depending on what is set as your foreground color. Our foreground color is set to white since our source image is primarily black.
Click on your canvas to add points and create the shape that you want your text to conform to.
Pro Tip: Holding Shift while clicking will help you create a straight line between two points. Clicking and dragging lets you create curved lines.

Step 2
Select the Type tool and hover over your newly created shape. You'll notice that that type tool icon border changes from a rectangle to an ellipse.
Click on your shape and a text enclosure will be created on a new layer. Type or paste some text in, and then hide your original shape.
You can now set all your text properties like font size, color, and justification in the Character and Paragraph panels.

Final Image
That's all there is to it! You can create any shape you want from scratch, or even use the Custom Shape tool to make text boxes that conform to special boundaries.
Did you use this technique in any of your own work? Share it with us in the comments.

