How to Easily Enhance Your Skies in Adobe Camera Raw

Watch Video Tutorial
Download full HD videos and tutorial project files with a PanoPass. You'll also get instant access to everything on the site, including products, and more.
Adobe Camera Raw can do some extremely in depth photo editing, but sometimes the best changes are the most simple.
One of the classic problems with photography is that cameras cannot see as high a dynamic range between lights and darks as the human eye, so we have to make up for it during processing, especially when it comes to skies.
This tutorial will teach you how to easily enhance any sky in just a few steps. This is one of those invaluable tips that you'll be using for the rest of your life.
Step 1
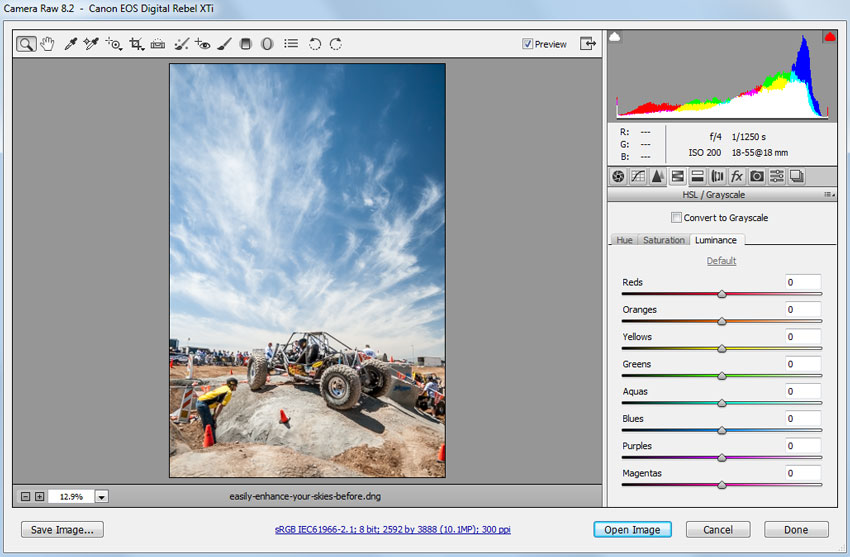
Open a RAW photo in Photoshop, or open a JPG as a RAW photo.
Open the HSL tab in the Adobe Camera Raw editing window, then choose the Luminance sub-tab.

Step 2
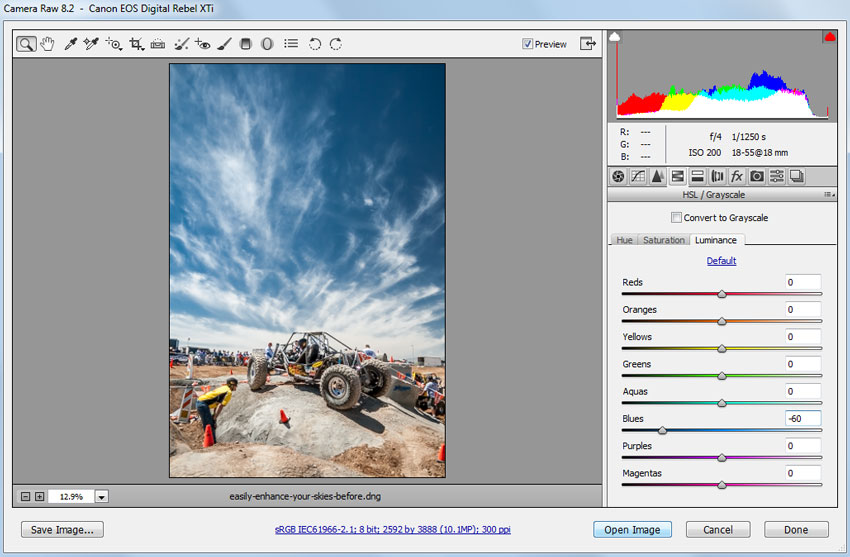
Set the Blues slider to about -60 to darken the entire sky. This will darken anything in the image that is in the blue range, but most of the time it's not enough to worry about.

Step 3
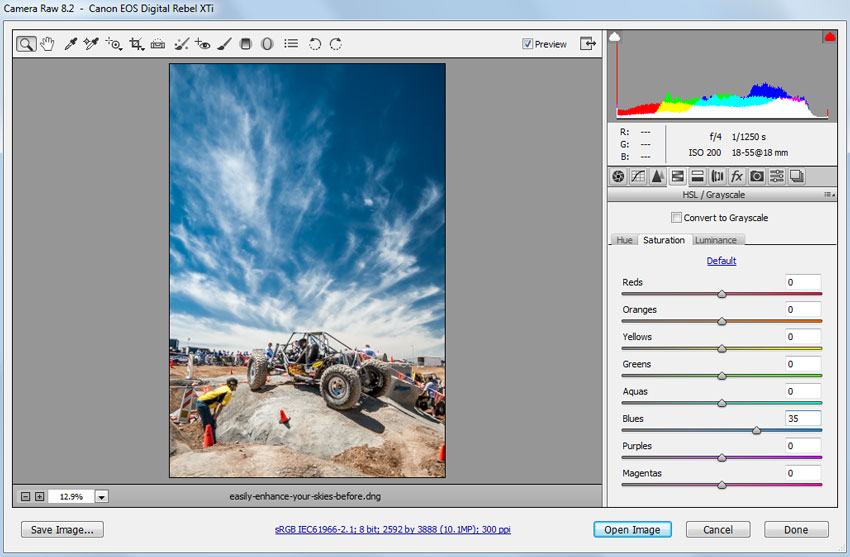
In the Saturation sub-tab, set the Blues slider to about +35.

Step 4
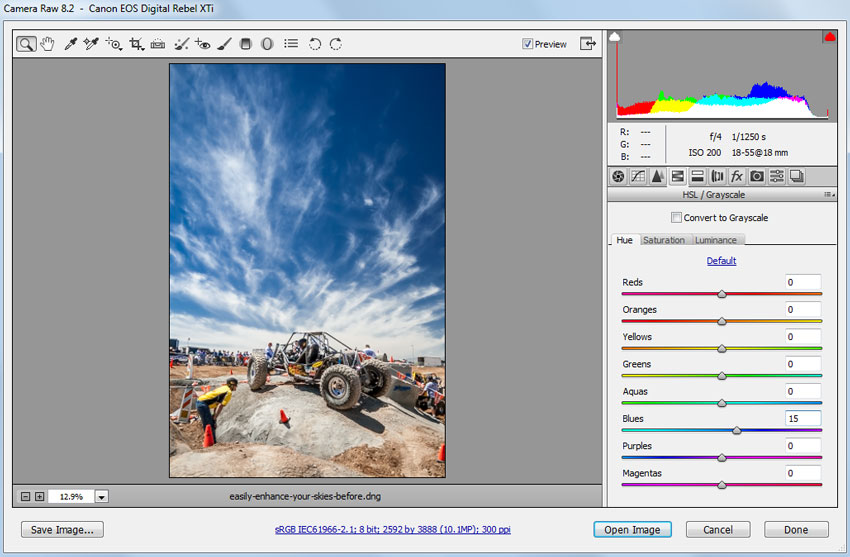
In the Hue sub-tab, increase the Blues slider to 15. This will shift the sky color a bit to be more purple.

Final Image
That's all there is to it. You can use this same method to desaturate or brighten skies instead, so play around and see which effect works best for your particular image.
Were you able to uset his method on your own photos? Share your results in the comments.

