Photoshop Brushes Advanced Features: Introduction

Watch Video Tutorial
Download full HD videos and tutorial project files with a PanoPass. You'll also get instant access to everything on the site, including products, and more.
Many people think that Photoshop brushes are the equivalent of a simple stamp. They can be used this way, but are infinitely more powerful than you might think.
This series is going to teach you in-depth how the advanced brush settings work in Photoshop. In this article, I'm going to explain the basics on where to find the advanced features and how they can be used.
Note: This tutorial assumes you already know the basics of installing and using Photoshop brushes.
The Basics of Photoshop Brushes
In their most basic form, Photoshop brushes let you stamp an image onto your canvas. You can create a lot of cool effects using this simple method, but there is a lot more to brushes than this.
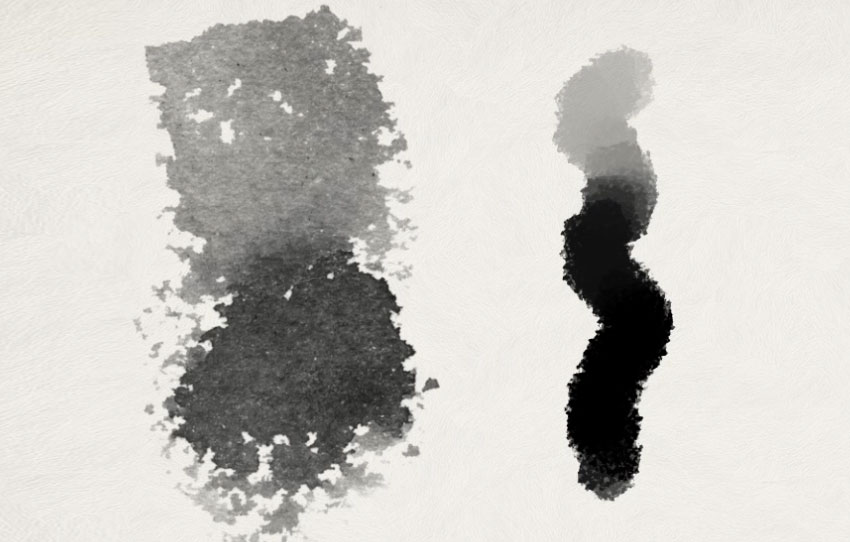
Especially when paired with a graphics tablet, you can even create authentic, hand painted effects in a single stroke.

Where to Find Photoshop Brushes Advanced Features
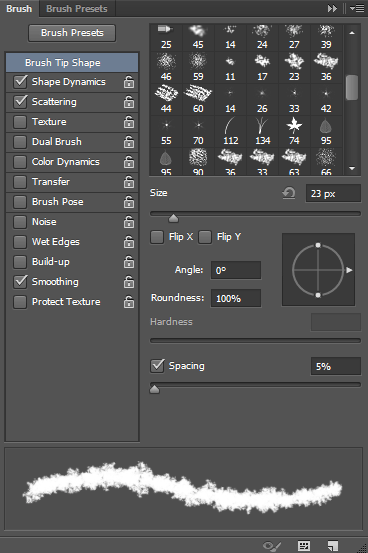
You can find all the different settings for Photoshop brushes in the Brush panel by clicking Window > Brush, or by pressing F5.
From here you can turn settings on an off, load and save presets to the Brush Presets panel, and more.

What Photoshop Brushes Can Do
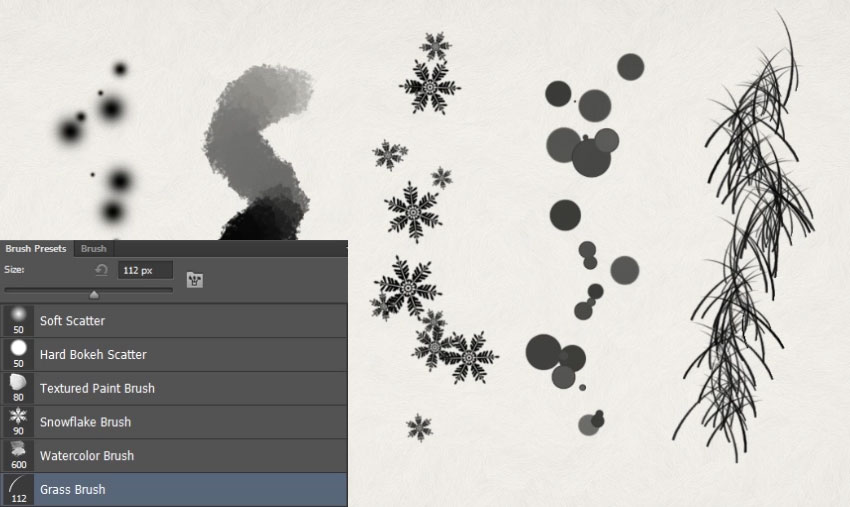
Once you've learned just a tiny bit about the advanced features, you can create things like realistic art brushes, scattered snowflakes, automated grass, and lot more.
You can automate things like brush size, rotation, scattering, color, and opacity to instantly create effects that would take hours to make manually.

Don't wait around for the next tutorial. Start playing around with different settings to get a taste of what's possible. We'll go over each group of settings in the upcoming articles.
