How to Install and Use Photoshop Brushes
Watch Video Tutorial
Download full HD videos and tutorial project files with a PanoPass. You'll also get instant access to everything on the site, including products, and more.
Photoshop brushes are one of the quickest and easiest ways to add some stunning effects to your designs and photos.
This tutorial will teach you the basics of downloading, installing, and using Photoshop brushes in your work, as well as some tips to improve your workflow and create some more advanced brush effects.
Step 1
The first step is to download some Photoshop brushes. There's a lot of free brushes out there, many bad, some good, so if you're not interested in spending money on premium brushes, make sure you're getting something high quality.
Typically, Photoshop brushes are packaged into a ZIP folder with other files like licensing information. The actual brush file(s) should have a .ABR file extension.
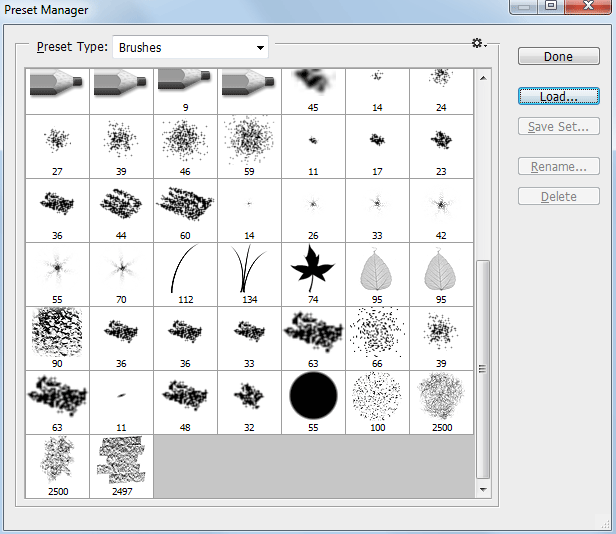
In Photoshop, click Edit > Presets > Preset Manager to open the Preset Manager. Select Brushes from the dropdown menu.
Click "Load...", then browse to your .ABR file(s) and open them to load them into Photoshop.
Click "Done" to close the Preset Manager.
Pro Tip: You can also load brushes into Photoshop by dragging and dropping the .ABR file(s) directly into your Photoshop window.
Step 2
Open a background or create a new document to test your new brushes.
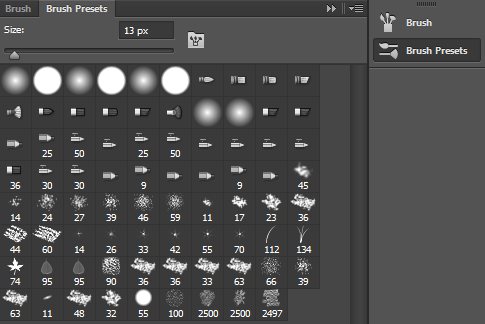
Select the Brush tool (B) and click Window > Brush Presets to display the Brush Presets panel.
You'll see the brushes you previously loaded at the end of the thumbnails.
Step 3
Click on one of the thumbnails to select a brush and hover over your canvas like you're about to paint.
If the brush is too big, press [ until the brush is the size you want. Alternatively, if it's too small, press ] to scale it up.
Keep in mind that scaling it up from the original size will reduce the sharpness and quality of the brush.
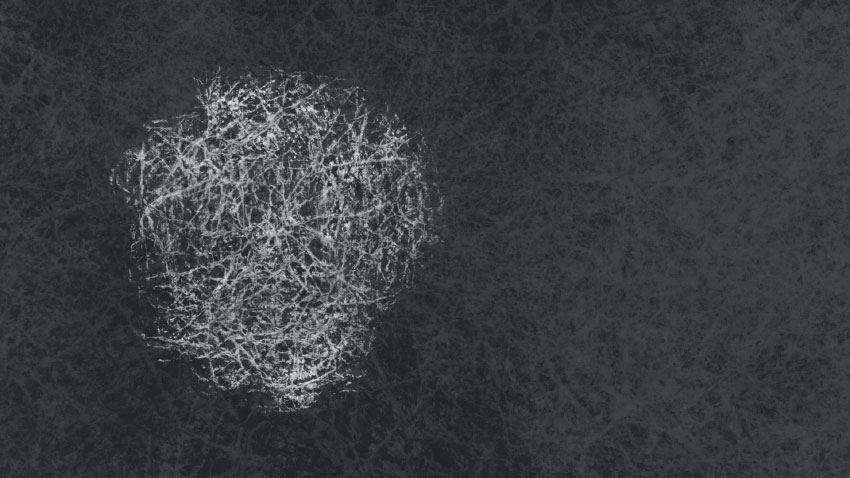
Press CTRL + ALT + SHIFT + N to create a new layer and click once to stamp your brush into your document.
Step 4
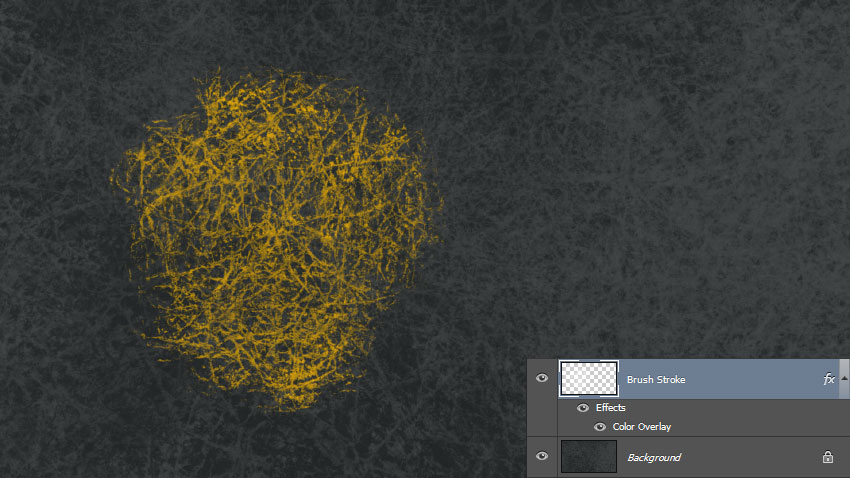
If you keep each brush stroke on a separate layer, you can easily go back and make changes later.
For example, I can double click the name of my brush stroke layer in the Layers panel to open the Layer Style dialog.
Now I can give it a Color Overlay to completely change the color of my brush.
Pro Tip: Create your brush stroke larger than necessary. You can then convert it to a Smart Object and scale, rotate, and give it effects without losing fidelity.
Step 5
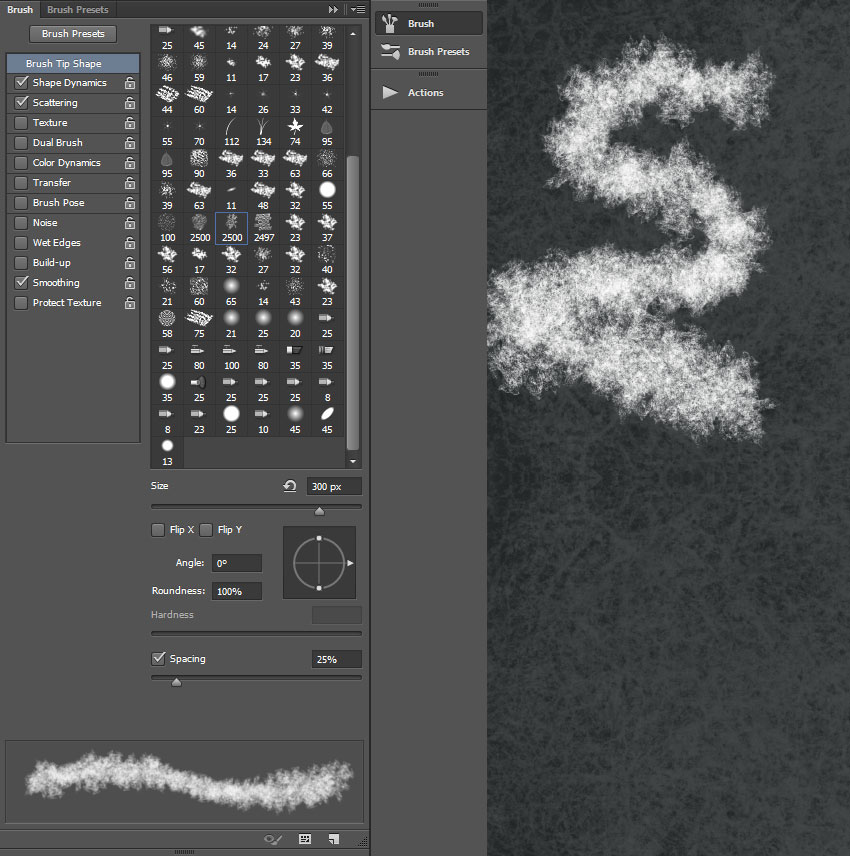
There's a lot more to brushes than simply stamping them onto your canvas. We're only covering the basics in this tutorial, but if you're feeling adventurous, you can click Window > Brush to open the Brush panel.
Within the Brush panel are many different effects that you can automate as you paint like scale, rotation, transparency, scattering, and a whole lot more.
The goal of this tutorial was to get you started with brushes. Were you able to load some brushes into Photoshop to get started?
Share your experience in the comments.
